Test a created pose estimator
During pose estimation, the 6 degree of freedom pose (position and orientation) of an object is estimated based on an acquired camera image. In your solution, you can use this technology to determine the location of an object in your workcell, for example to manipulate the object or to avoid it during planned moves of the robot.
Right now, only rigid body pose estimation is supported.
Create a pose estimator if you haven't already done so.
Option 1: Test your model live in the inference UI
In the inference UI, you can test a created pose estimator on the live view of a camera of your choice.
Expand the list of pose estimators in the Pose Estimation panel. It is located in the Properties panel. Find the pose estimator you want to test and click the play button next to it.
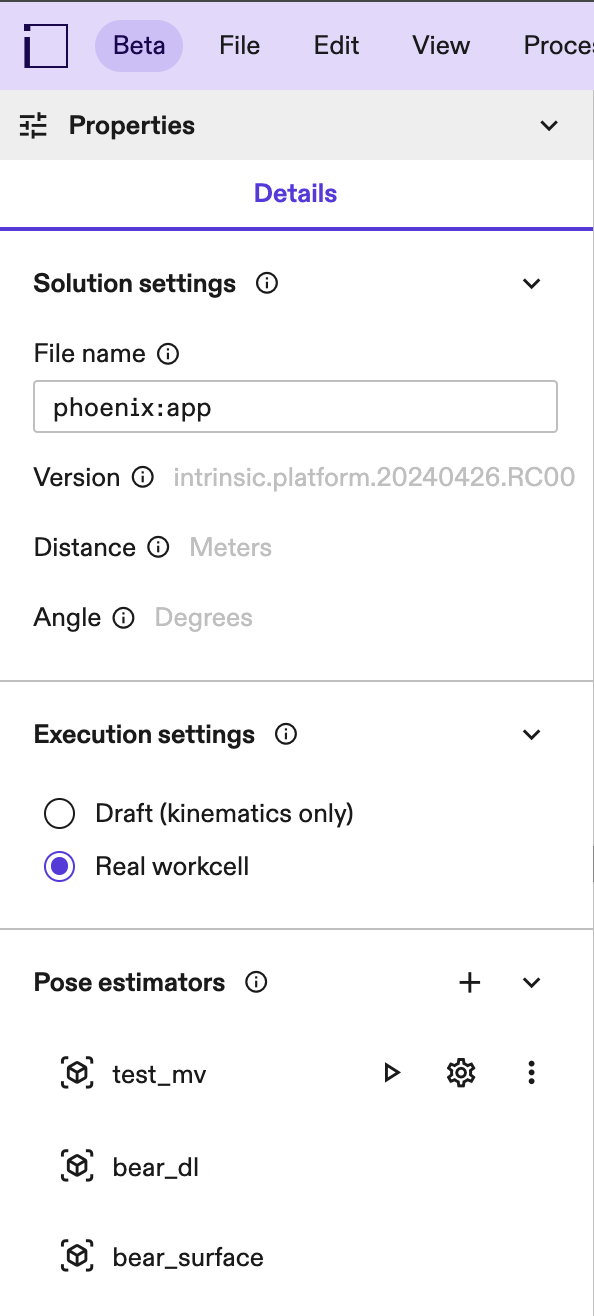
If you cannot see the properties panel, click into an empty space in your workcell (or select the root node in your scene tree).
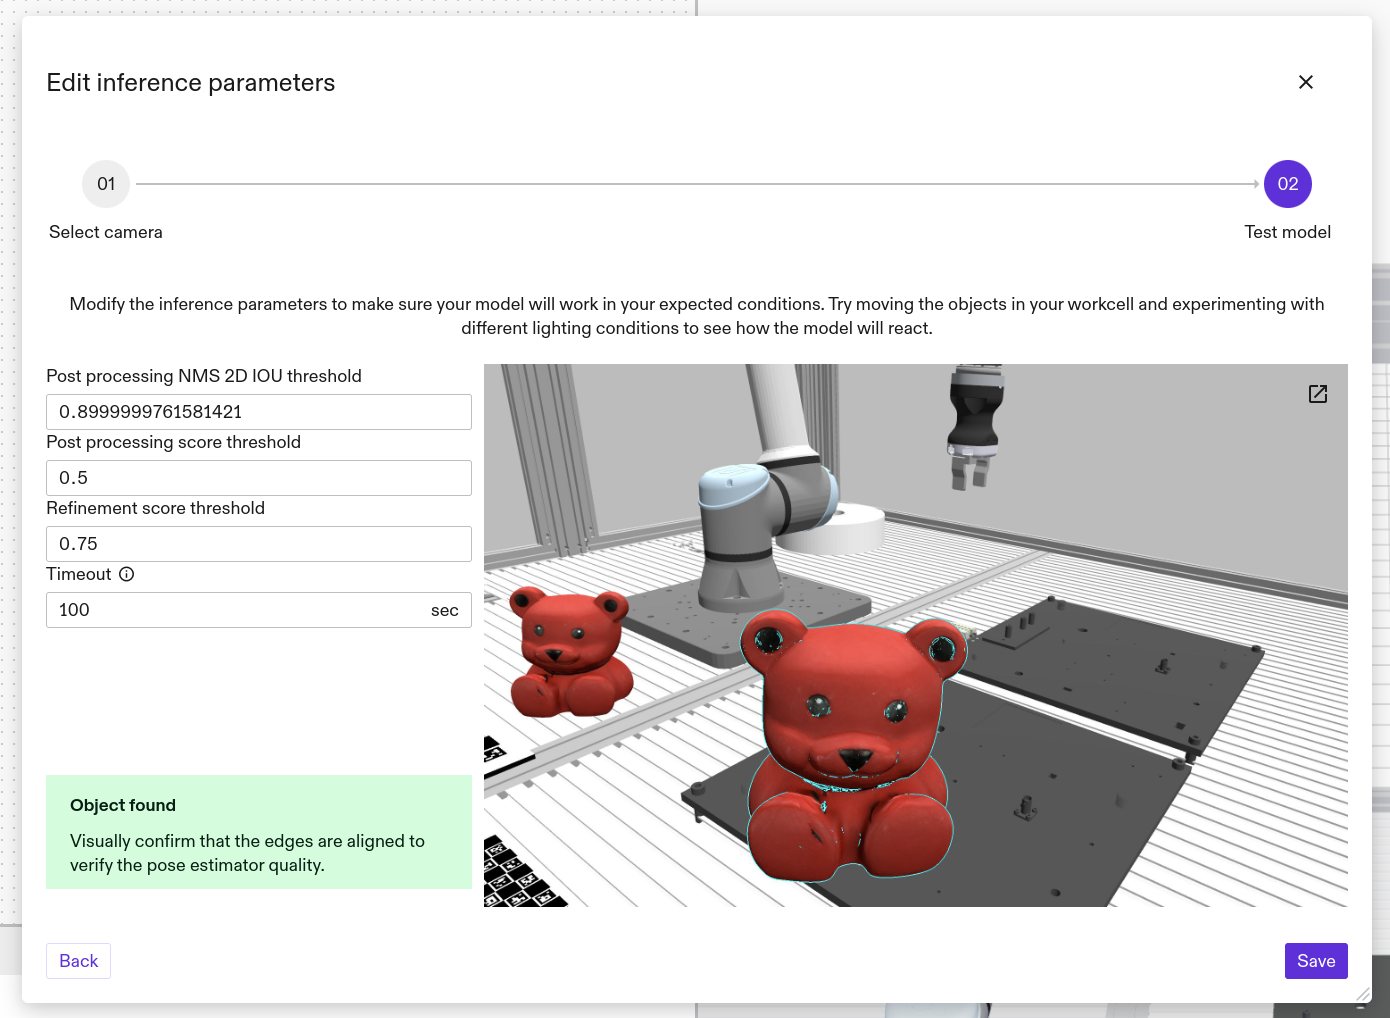
In the first step, select the camera you want to test your pose estimator on, then click Next.
Pose estimators are created on a specific camera's intrinsic parameters and work best with the camera they have been created on.
In the next step, a live-stream with resulting pose estimates is shown so you can verify creation worked as expected on live images.
The initial run of an ML based pose estimator might take a bit longer, up to a few minutes, depending on your GPU. This is because the estimator has to be loaded onto the GPU. Subsequent runs should then be much faster (a few seconds).
You may change the inference parameters now and observe effects on the result to set them to the optimal value for your solution. You can also move the object in your workcell to different poses and make sure it is estimated in all the variations it might appear in your solution.
Inference parameters are specific to the individual estimators.
Once you are satisfied with the performance of the pose estimator, click Save to deploy the pose estimator to your app. It is now available to use in your skills.
If the object is not estimated, make sure:
- it is within the camera view(s)
- not too occluded (~30% occlusion should work for all estimators - if the object is cut off at the image border that also counts as an occlusion). For multi-view scenarios higher occlusion rates are possible as long as they are not present in all of the camera views.
- Visually distinct from the background (For example, a black object on a black background is hard to detect.)
- its pose is covered by the view space you set
If you are seeing false positives in the background, try:
- reduce clutter in the background
- make sure there are no visually similar looking objects in the image (For example, if estimating a block, rectangles and stripes on the bottom of your workcell could be mistaken for the object.)
- decrease the pose range
Adjusting inference parameters could increase the inference runtime, potentially causing a timeout. If this happens, reset the recently changed parameters to their previous values.
Examples for tuning inference parameters
| Example problem | How to solve it |
|---|---|
Missed object detections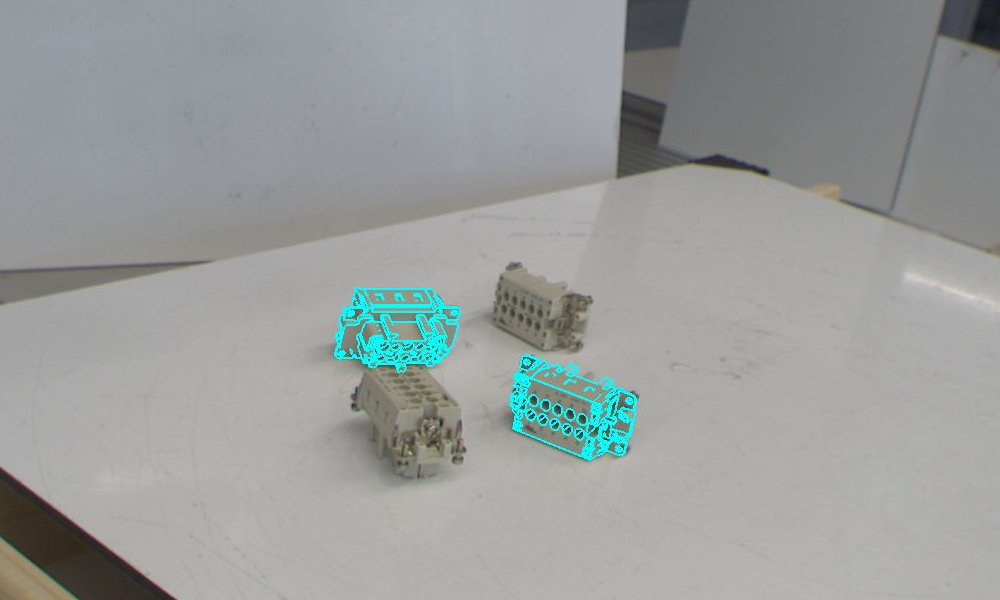 | 1. Decrease the pose score threshold. 2. If the problem remains, decrease the detection score threshold. 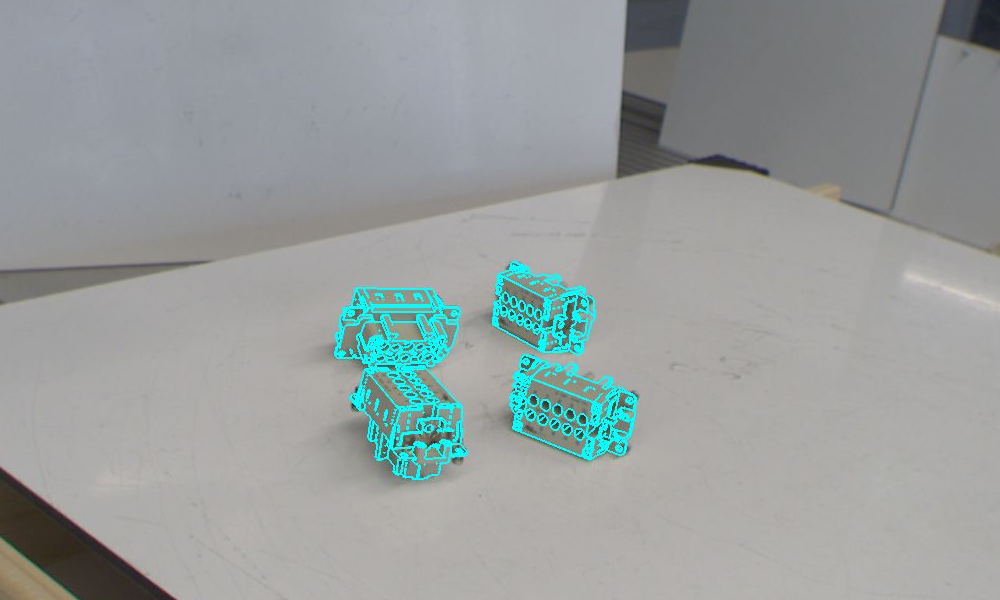 |
| Hallucinations (false positive detections) Two of the five detections do not match the target object. 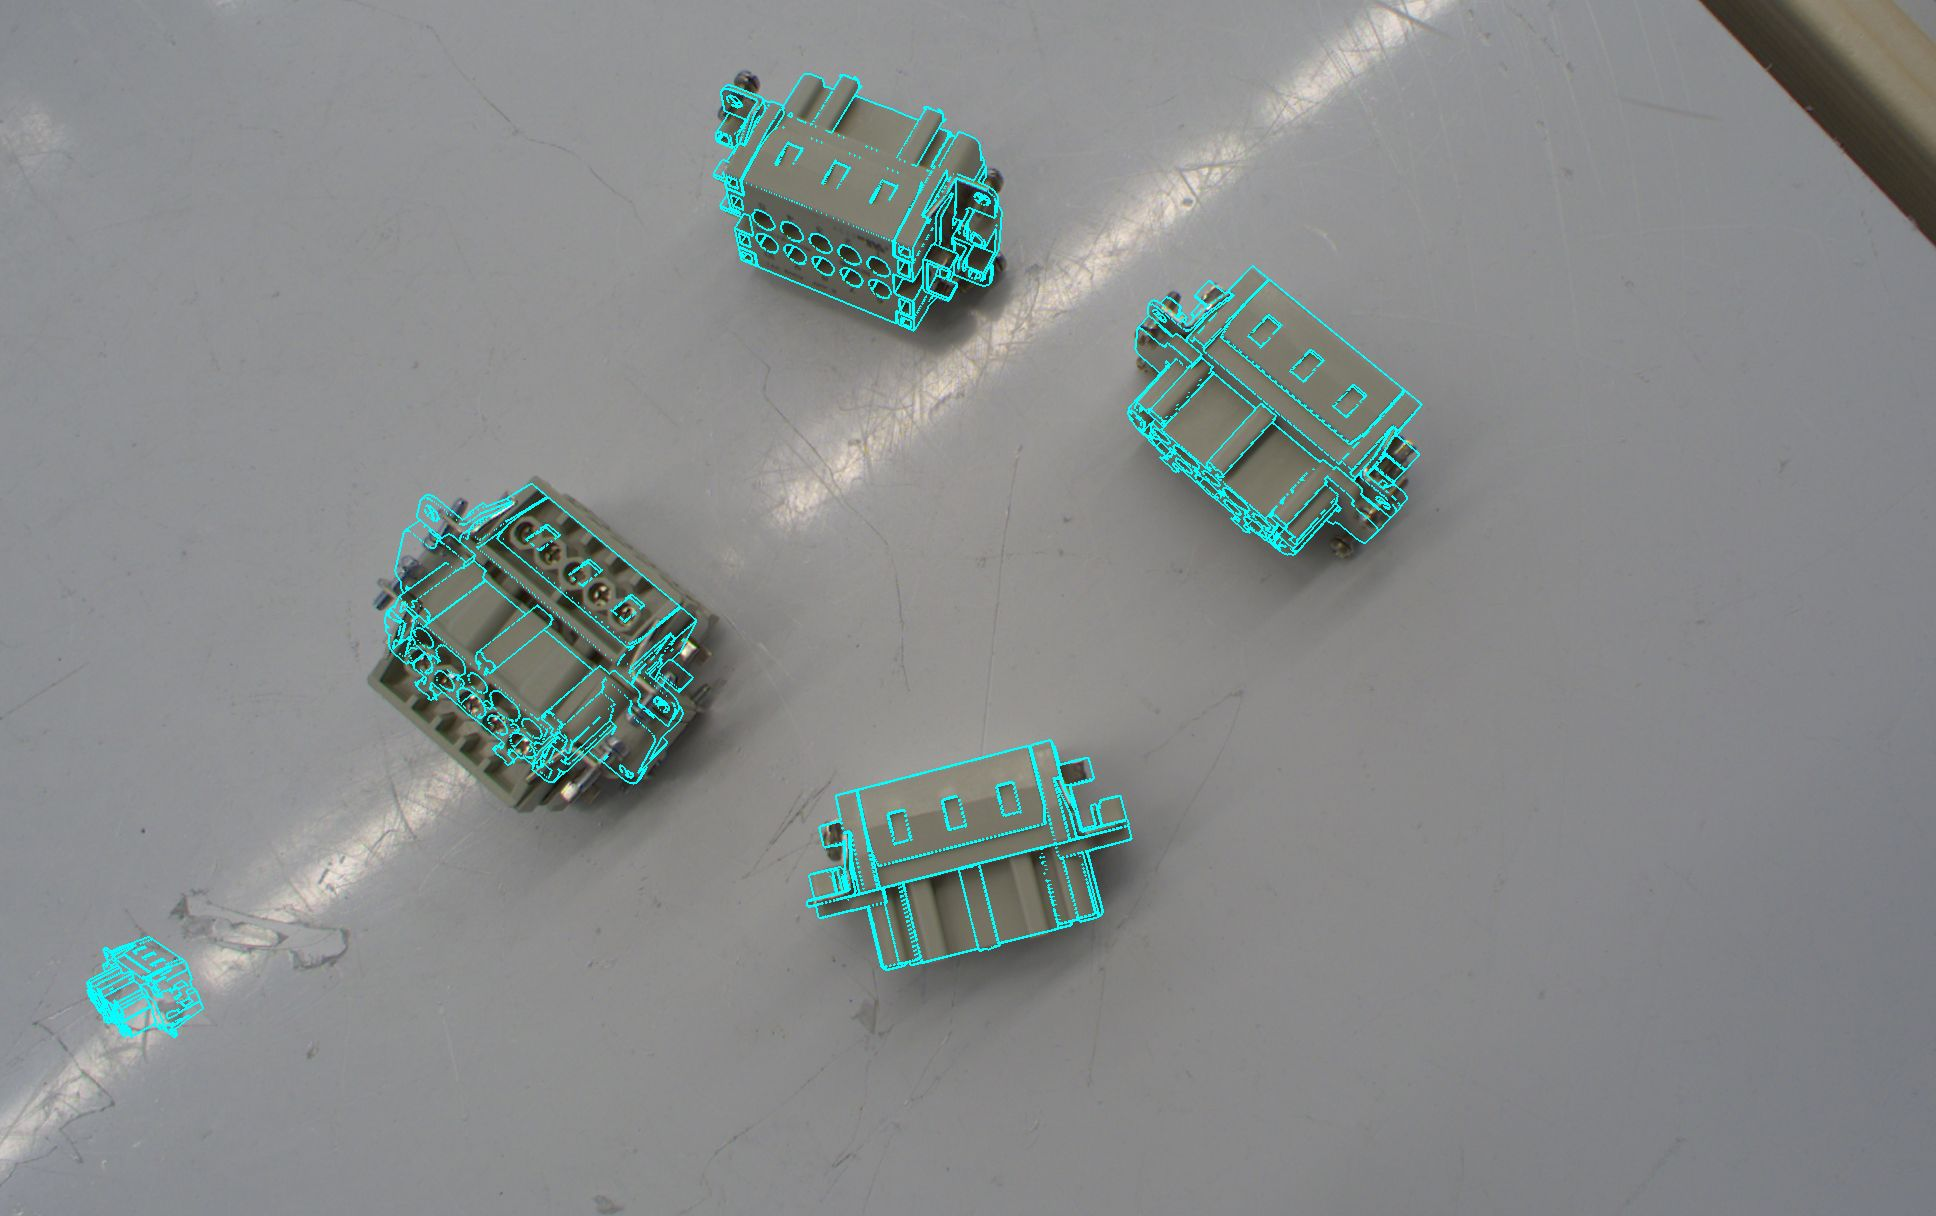 | 1. Increase the detection score threshold. 2. If the problem remains, increase the pose score threshold. 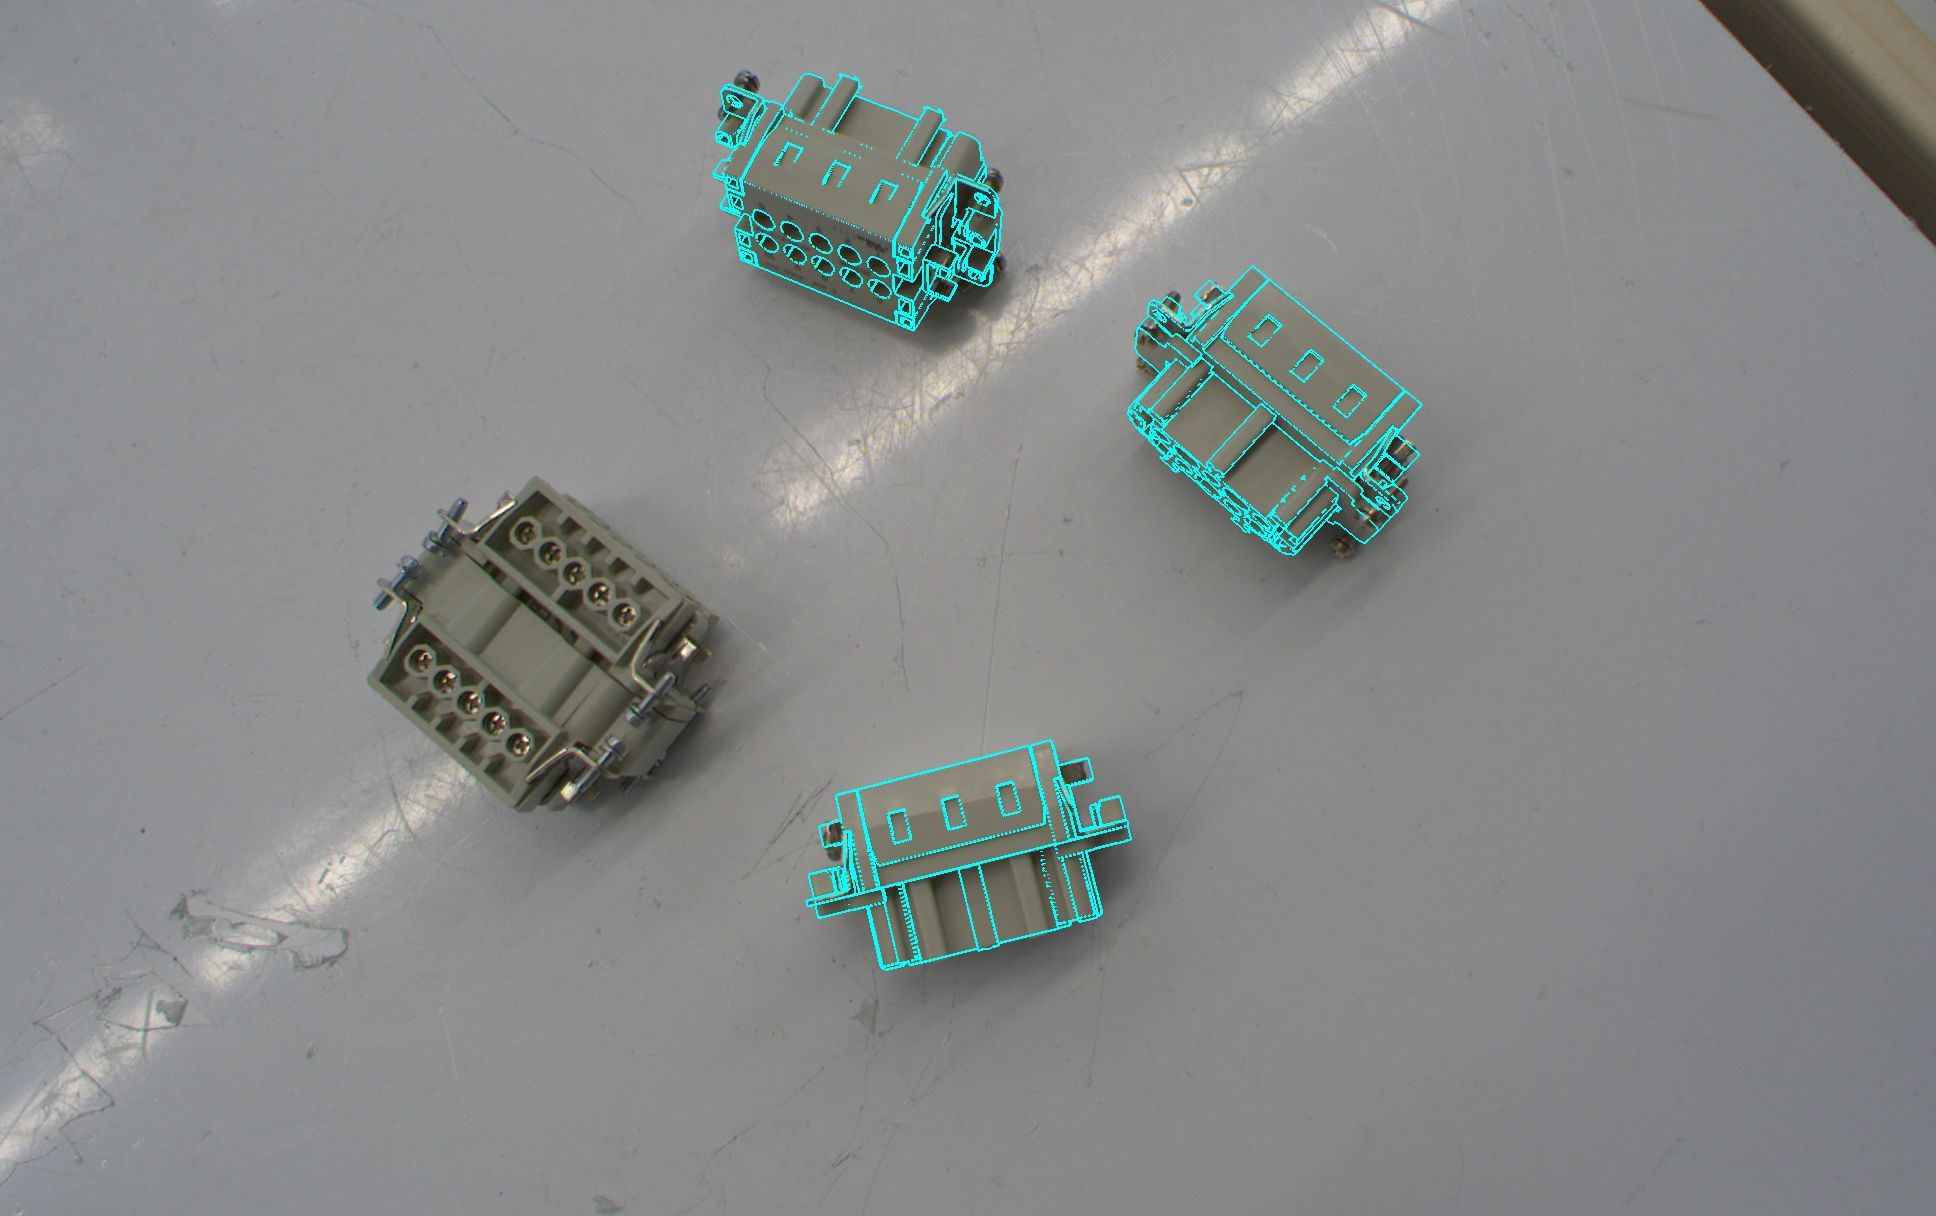 |
Missed detections on overlapping objects | Increase the detection IoU threshold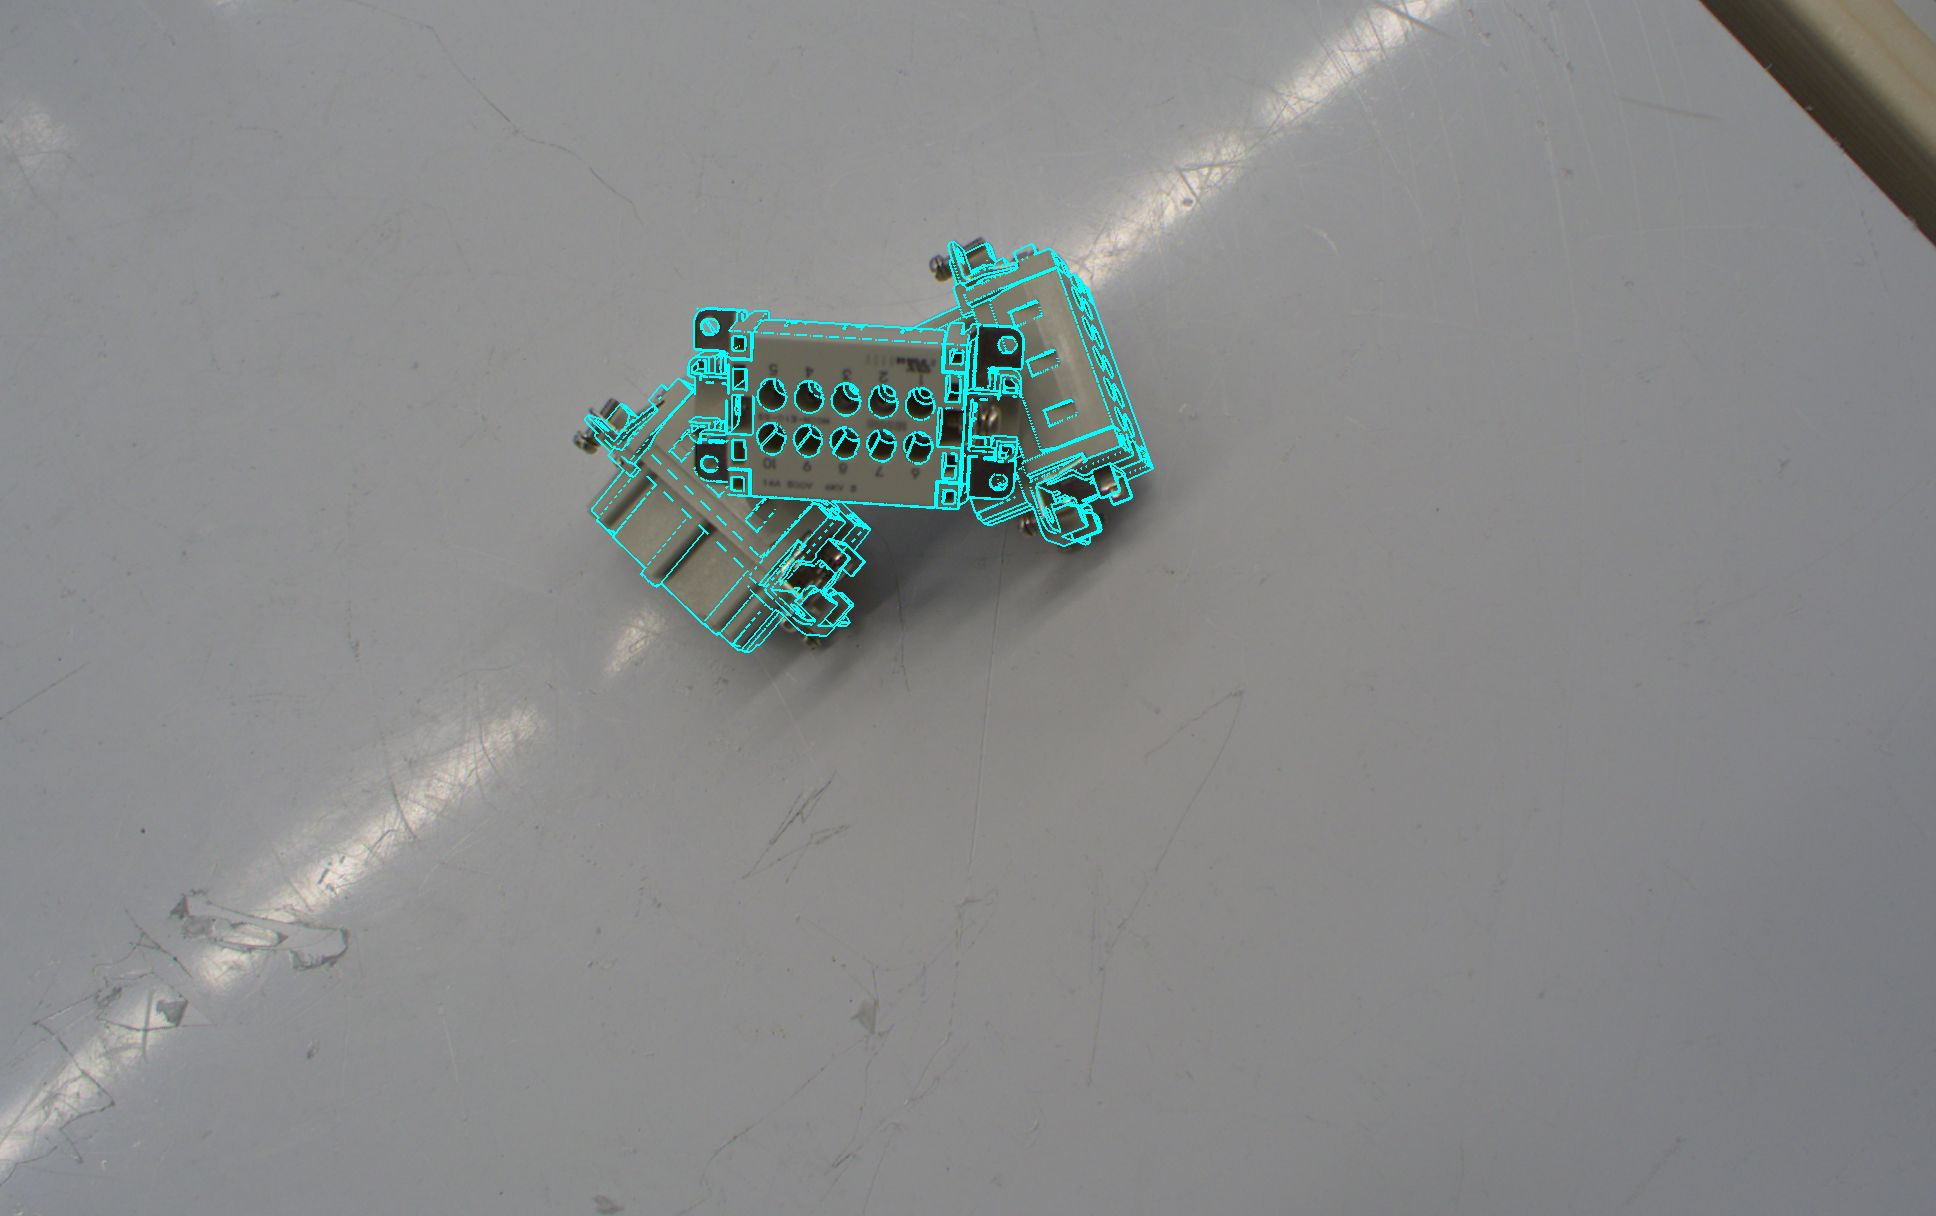 |
Undesired detections of overlapped objects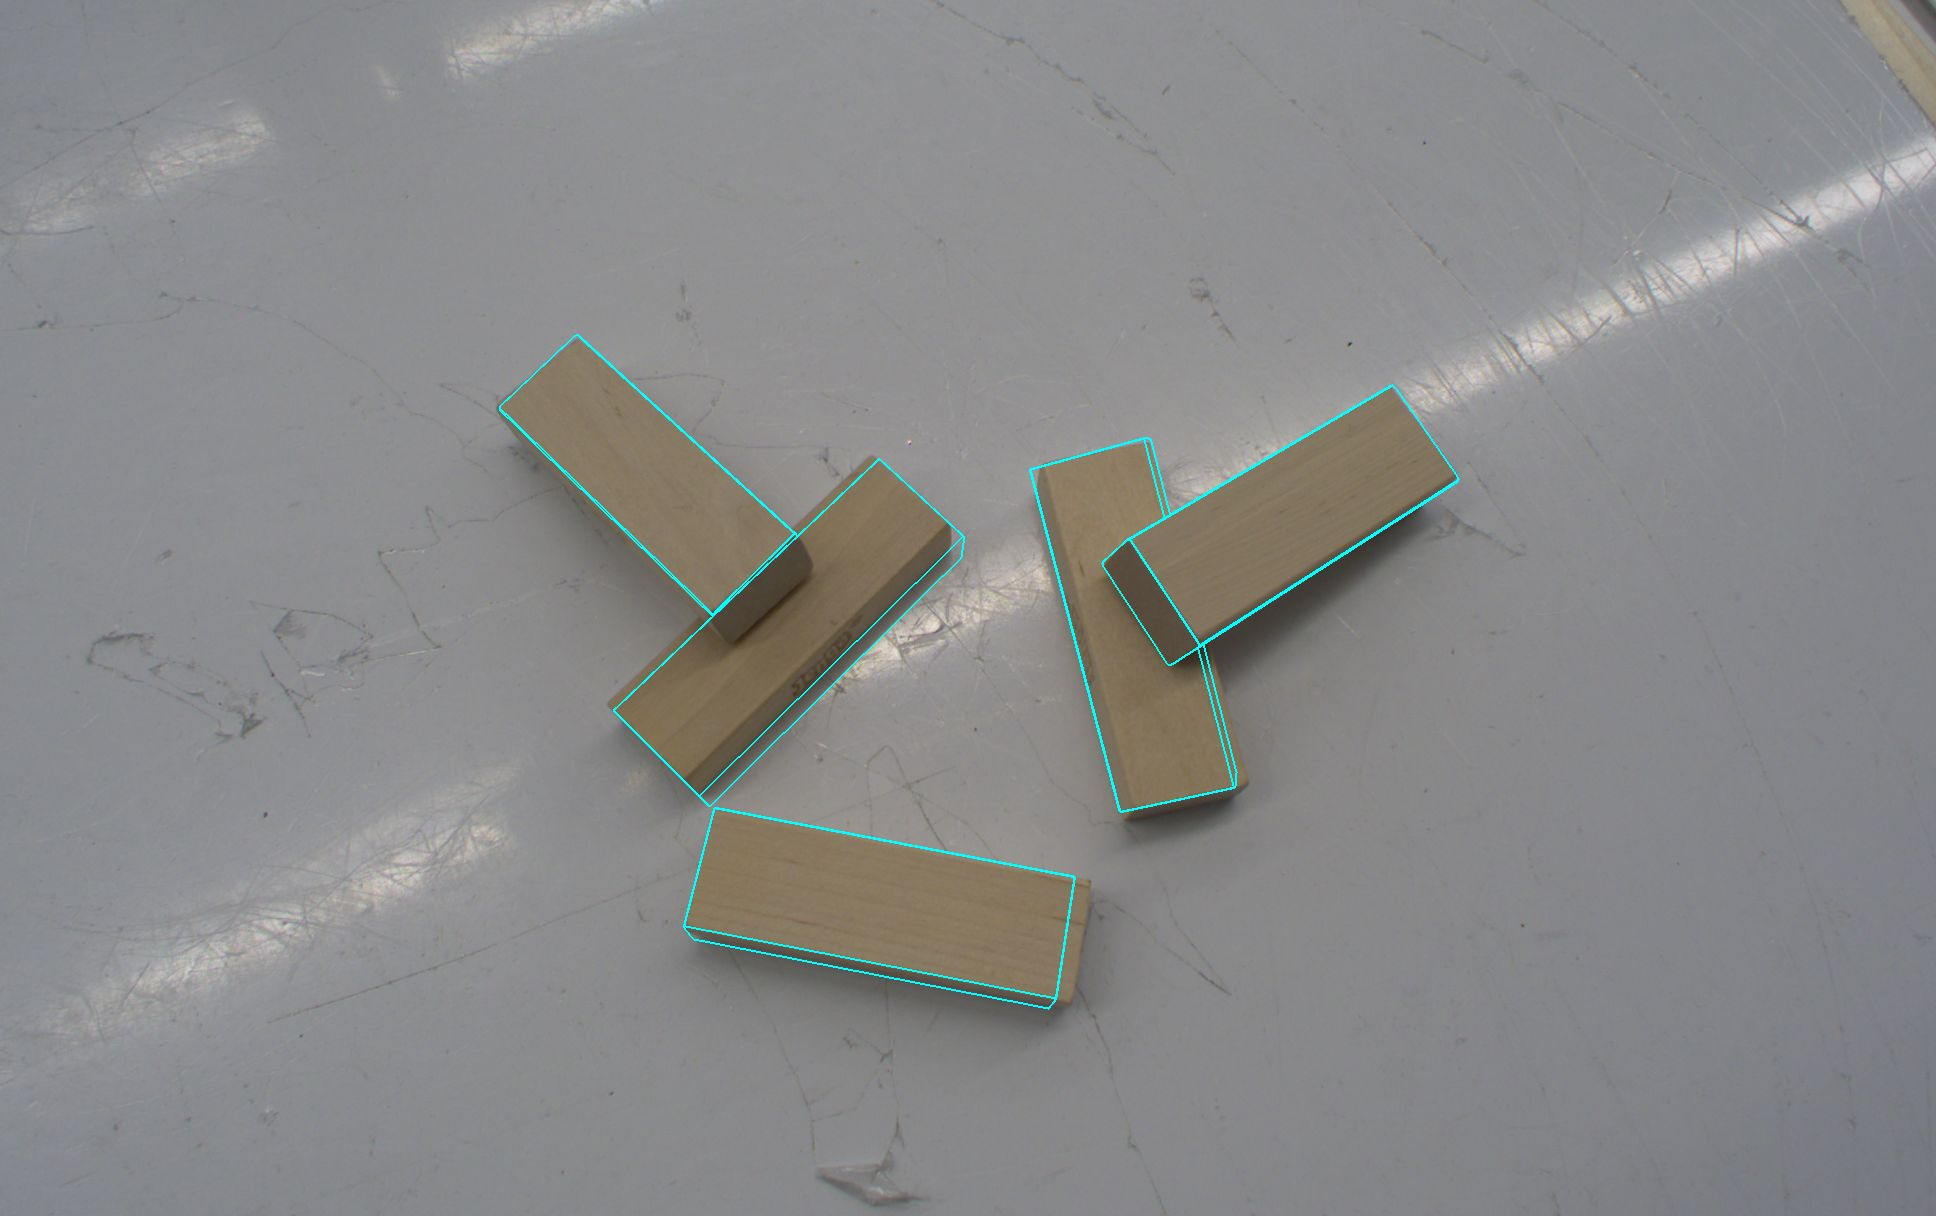 | Reduce the detection IoU threshold to remove detections for objects that lie underneath others. This is useful to filter out occluded objects, e.g. if you want to pick the (fully visible) objects on top first.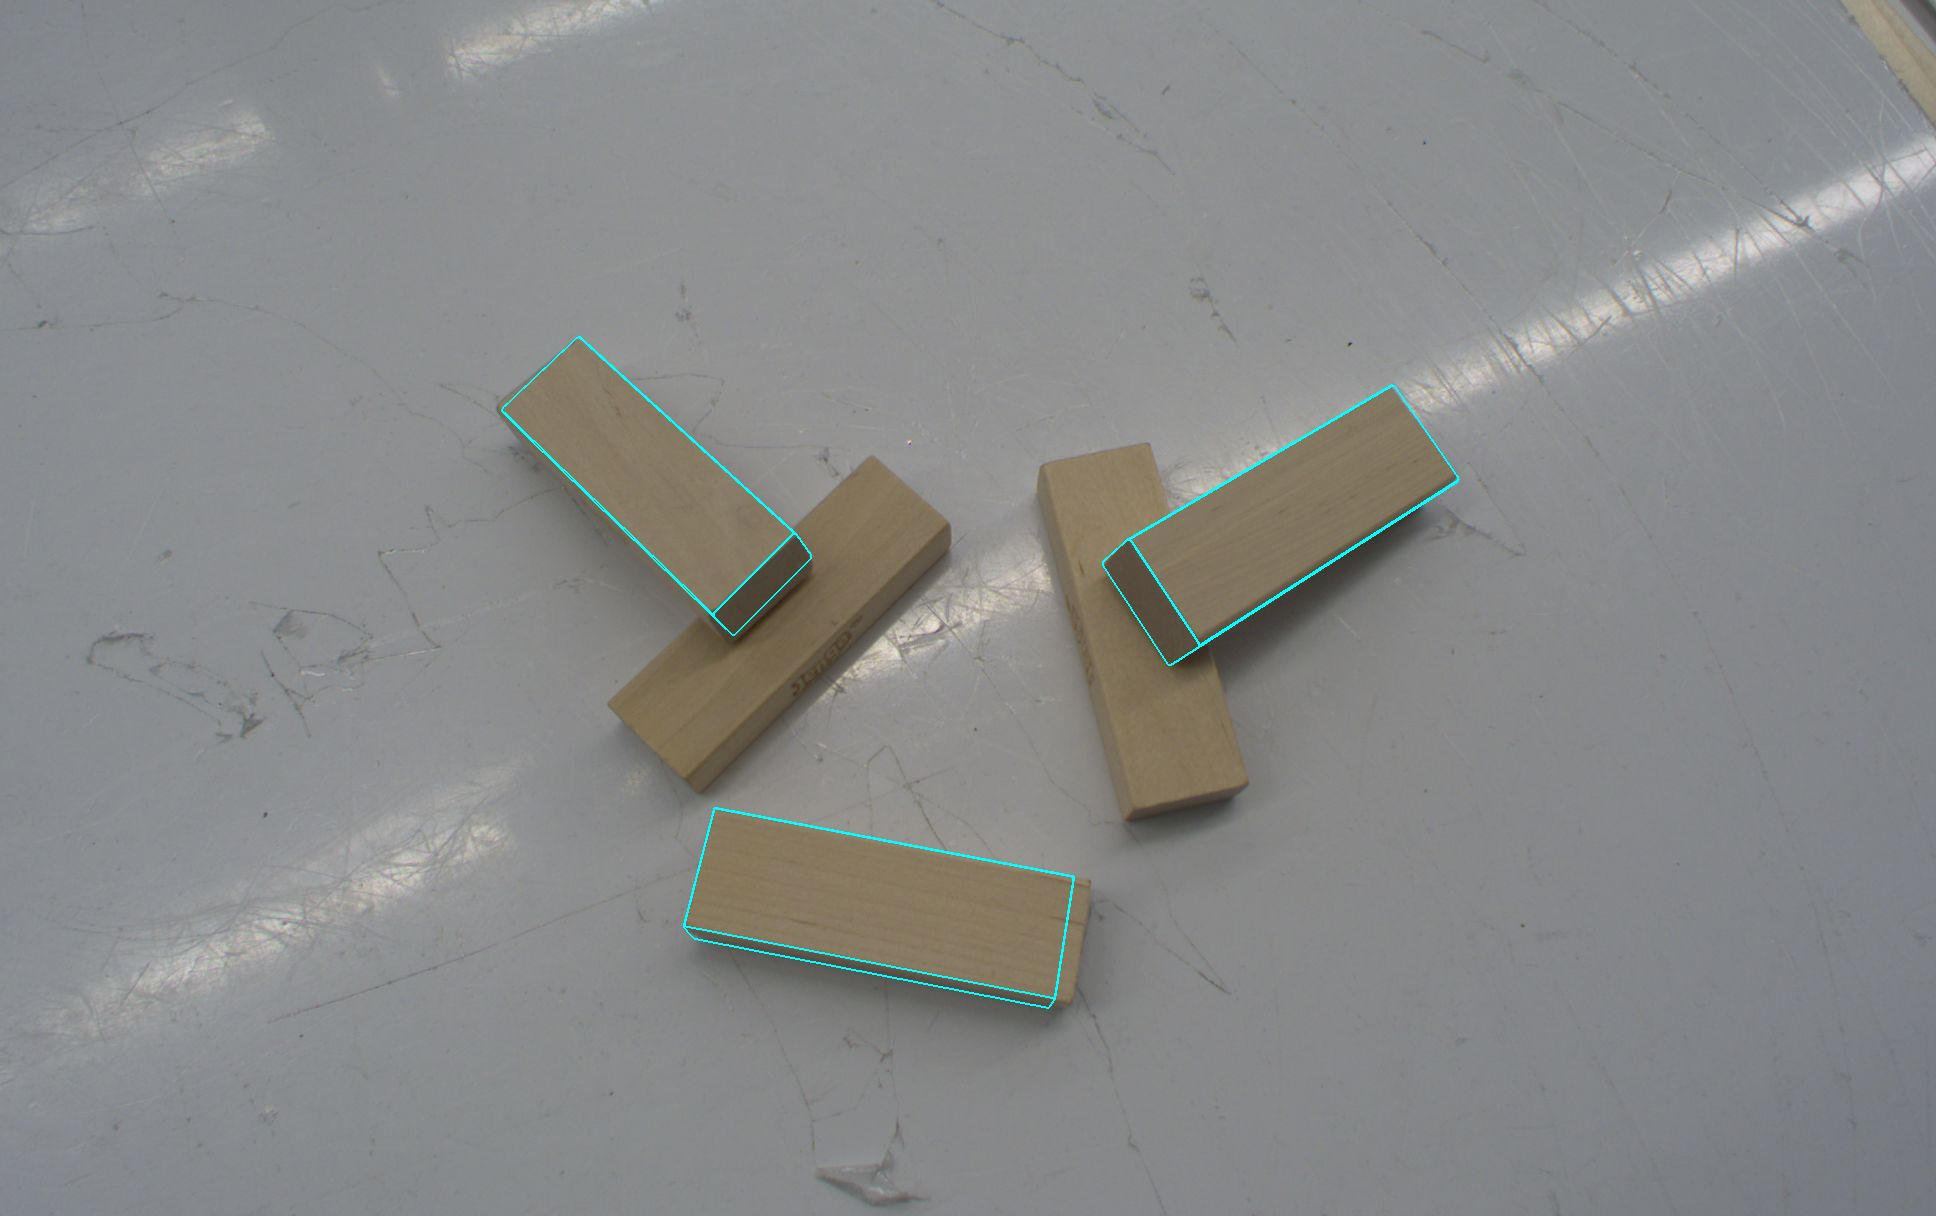 |
Detections with inaccurate pose | In order to discard detections with inaccurate pose, 1. Increase the pose score threshold. 2. If the problem remains, increase the detection score threshold. For a multi-view pose estimator, try increasing the minimum number of views first. The more cameras see the object, the more accurate your pose estimation result will be. 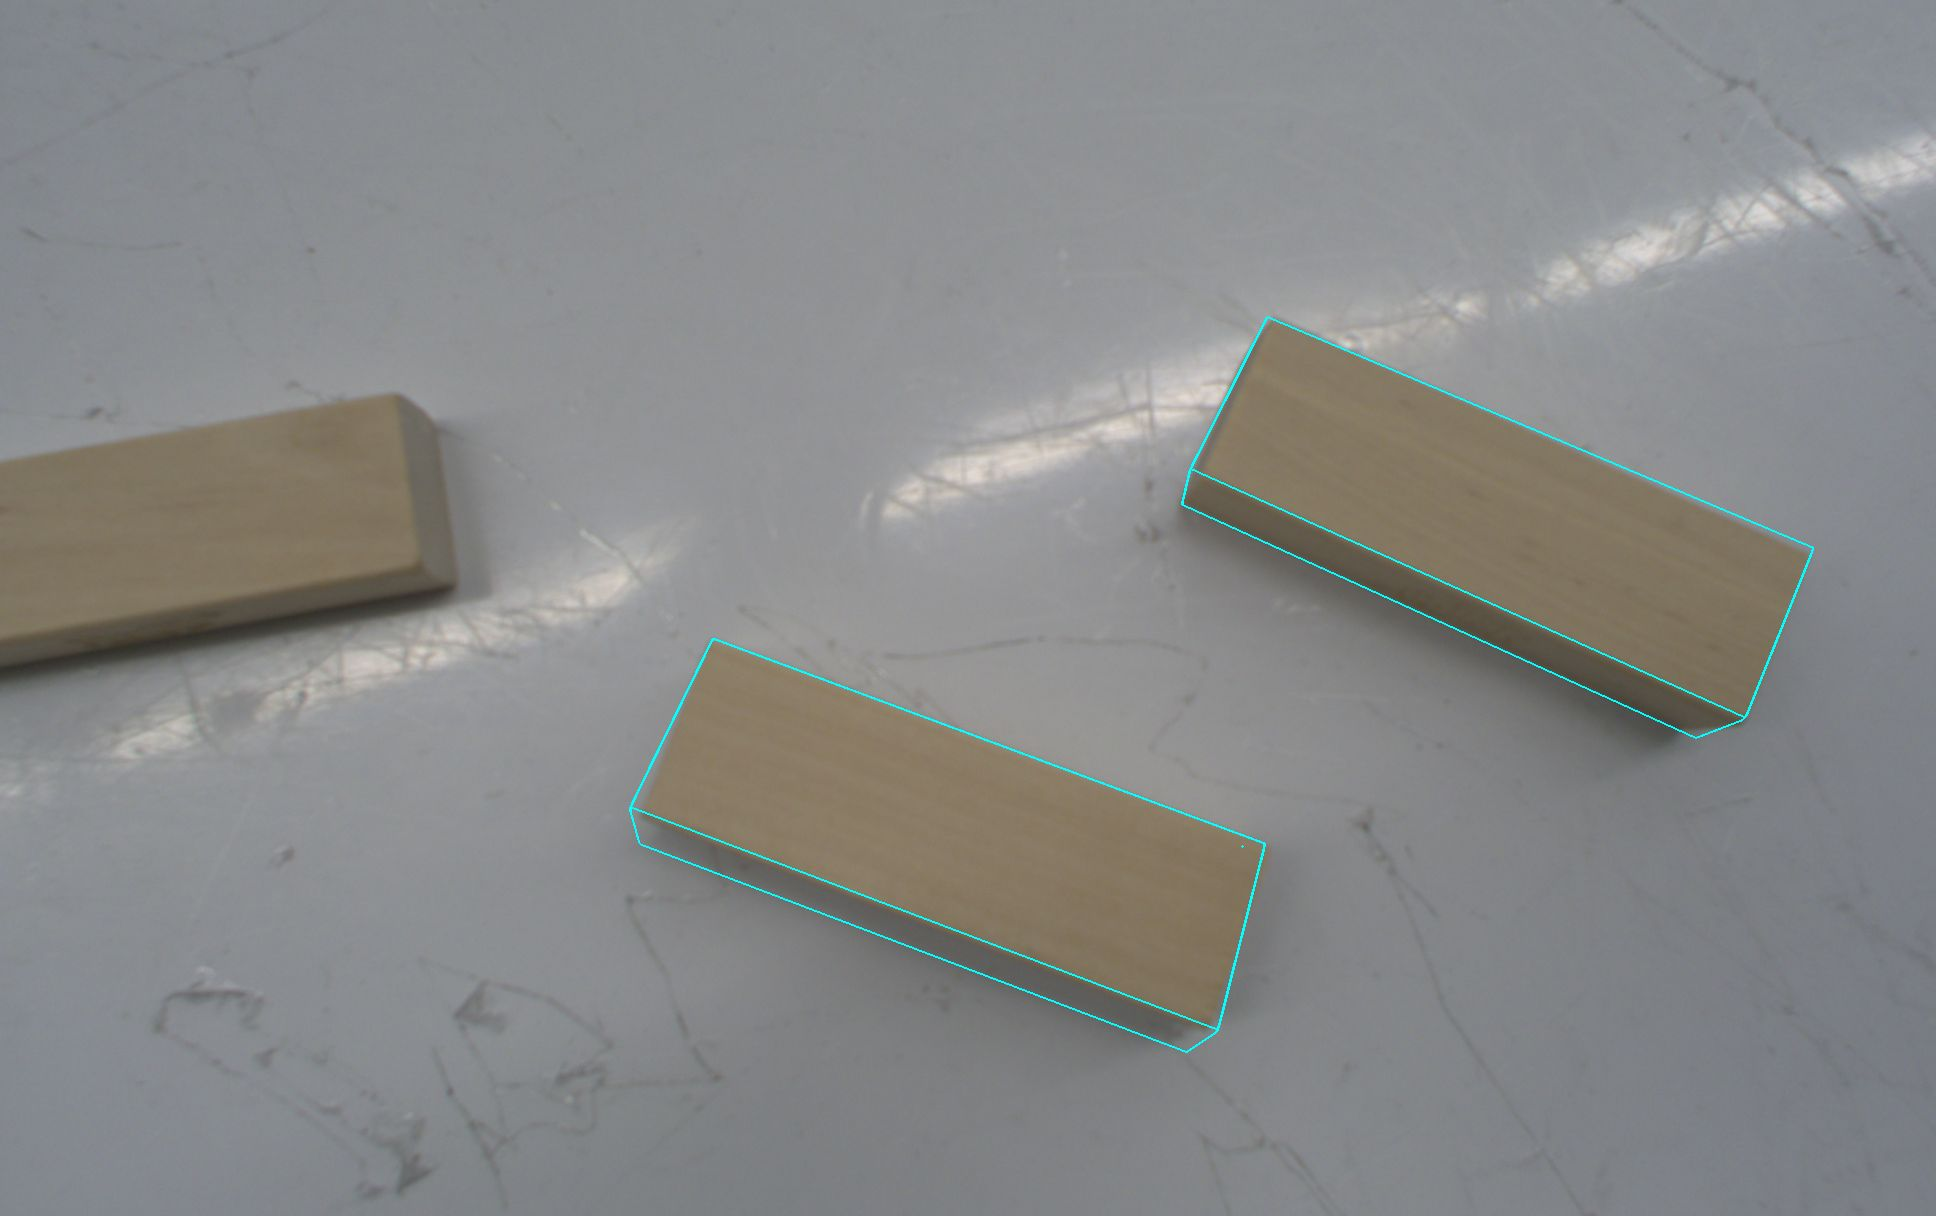 |
Option2: Add a pose estimation skill to your solution
The pose estimator needs to be deployed to your app before it can be used in skills. Open the creation or inference UI and click Save to deploy the pose estimator to your solution.
You can use pose estimation as part of your solution by using the
estimate_and_update_pose,
estimate_pose (for a single
camera) or
estimate_pose_multi_view
skills, depending on the type of pose estimator used.. Refer to the skills
documentation for more information on what the skills are doing. Some of the
parameters the skills might be required are outlined here in more detail:
- Pose estimator ID: This is the ID of the pose estimator you created previously or that was deployed with the app. See this document on creating new pose estimators.
- Camera: The camera or set of cameras which are used for pose estimation. It needs to have an up to date intrinsic calibration, and be positioned correctly in the world using camera to robot and camera to camera calibration workflows.
- Object: The reference to the world object you want to locate and update.
Validate your pose estimation results
There are two options to visually validate the accuracy of the pose estimation result:
-
The estimated pose of the object is reprojected into the image and shown in the sequence list.
-
Select the camera in the scene tree, and click the Open camera view button. The camera view with the overlaid belief world is shown. The object in the belief world was placed according to the results of running the pose estimation skill, so check that this matches the position in the camera view.